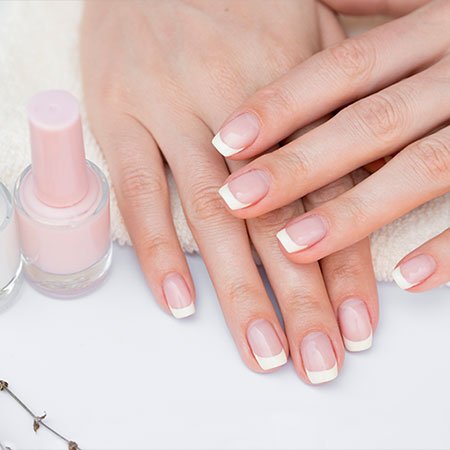
In this stressful life, we forget to take out time for ourselves. A manicure is one of the best ways to pamper yourself. It is known for the de-stressing and calming attributes of one hour-long manicure. Besides the therapeutic properties of this treatment, regular manicures have to be made a part of the grooming routine of every woman. If you find it expensive at the salon, then read this article to learn how to perform a manicure in the comfort of your home naturally.
Benefits of a Manicure
There are several reasons to perform manicures on a regular basis. The benefits of this process go beyond beautifying your nails and personality. You should incorporate it into your daily hygiene routine. Let’s learn more about how a manicure can benefit your overall health.
1. Cleans your nail
Nails are more likely to become dirty when exposed to dirt and dust. It is possible that these germs can enter our body at the time of eating. This can lead to an infection. Washing fails to eliminate dust that lies deep within the nails. That is why we need to perform regular manicures. This practice aids in preventing the spread of germs, dirt, and debris.
2. Nourish cuticles
Another benefit of a manicure is that it provides nourishment to your nails. Regular manicures help in nourishing the cuticles and keeping them soft and in excellent shape.
3. Enhances blood circulation
Manicures involve massage that promotes sound blood circulation in the hands. The massage helps to enhance the ease of movement in the joints of your wrists and fingers.
4. Helps to relax your body
Another important reason women love manicures is the relaxation they provide. We do a majority of household chores and work-related tasks with the help of hands. A great massage loosens up the muscles. It treats the primary pressure points present on the fingertips and palm and relaxes the body.
5. Make your hands youthful
Moisture, brightness, and softness are signs of youthfulness. Manicure does this for you. It comprises various procedures, like scrubbing, exfoliation, and massage, that remove the dead cells from the skin. A relaxing massage with deep moisturizer makes them soft, supple, and glowing.
Types of Manicures That You Can Try
Now that we have seen the significance and advantages of doing a manicure, we will now come to the most essential step, i.e., choosing the right method of manicure. So, here are some of the different types of manicures that you can perform.
1. Basic/Standard Manicure
If you are a beginner and have not tried it before, then you should start with a standard manicure. This type of manicure involves trimming your nails and giving them a desired shape. This stage is followed by treating cuticles with cuticle oil, a hand massage, and the application of nail polish. The complete procedure will require around 45 minutes to an hour. You should perform this procedure once every fifteen days.
2. Brazilian manicure
The next type of manicure that we have on our list is the Brazilian manicure. You will find that this manicure is more focused on addressing your cuticles. The technique involves efficient elimination of the cuticle so that the nail bed becomes clearly visible. We use a specialized device named “Brazilian clipper” to perform this procedure. At the end of the procedure, polish is applied to the nails and the areas that surround the skin to ensure the edges are properly covered.
3. Three-Dimensional manipulation
In this process, you will place acrylic on some false nails and now paint them to the color of your preference. Once done, you will stick them on your original nails and start applying lovely accessories such as pearls, rhinestones, etc. to create a beautiful, girly design.
4. Vinylux Manicure
There is a common complaint among women that their nail polish doesn’t last longer. This problem can be solved by choosing a specialized nail polish from Vinylux, a leading professional color brand. When the top coat of this nail polish comes in contact with natural light, then its color becomes tougher with time. You get stunning color and long-lasting glossy shine with protection.
Vinylux acts as a protective shield on your nails to protect them against wear and tear. This nail paint can easily last for ten to twelve days. You can easily remove it with the help of an acetone-based nail polish remover.
5. Shellac Manicure
Shellac is a professional manicure product that is mostly used in salons. It is made using the fusion of polish gel. The procedure of its application is similar to the application of a gel. It is the long-wear gel that dries quickly and imparts the shine and color of a polish. Compared to conventional gels, shellac is easier to remove. It also does not cause any damage to your nails. It can easily last for a period of fourteen days and more.
6. Paraffin Manicure
Paraffin is a popular type of manicure that uses a natural ingredient called “paraffin wax.” This procedure requires dipping the hand in the odorless and colorless wax that is derived from petroleum and beeswax. Once you do this procedure, place your hands in plastic gloves and wrap them in a warm towel.
This will harden the wax and release all the dirt, toxins, and dust that lie deep within the pores. Now the standard manicure process is performed. The entire process will require around thirty minutes to an hour to finish. Paraffin manicures are ideal to heal your dry skin, repair any cracks, and make the skin smooth and supple.
7. Dip Powder Manicure
To perform the dip powder manicure, you need to dip your nails in the colored powder. This powder is wrapped by adhesive layers. You would need UV/LED lights for the execution of this procedure. Unlike a conventional manicure procedure, this procedure is performed with dry nails, as dehydrated nails are needed for the strongest level of adhesion of the powder.
This manicure can easily last for two weeks. You can remove it by filing the glossy topcoat so that the applied acetone penetrates through it. Now soak the nails in pure acetone solution for fifteen minutes. With the help of a wet cotton swab, wipe the area.
8. Acrylics
An acrylic is made using a liquid known as a monomer and a powder known as a polymer. The combination of these two ingredients forms the rigid acrylic enhancement. With this technique, you can shape the acrylic into whatever shape you wish, such as a coffin, round, square, or flare, and add nail art or embellishments. Based on the complexity of the entire procedure, it can take up to two hours to execute.
Its effect depends on the growth of natural nails. Normally it stays for around a month’s time. The process of removing the acrylic material is quite simple. All you need to do is only soak your nails in acetone.
How to Do a Manicure at Home?
If the lockdown is stopping you from going to the salon, then you need not be disappointed. Here are simple steps on how you can manicure easily at home. With regular practice, you can easily achieve perfection. It only takes ten simple steps. But before we show you how it is done, let us look at the things that you will need to make your manicure kit.
1. To perform the cut-file-polish
- Nail file
- Pumice stone,
- Nail brush,
- Nail shiner,
- Nail cutter,
- Nail buffer,
- Cuticle stick or cuticle pusher, and
- Nail paint/s
2. For the hand-soaking solution
- Shallow tub
- Shampoo
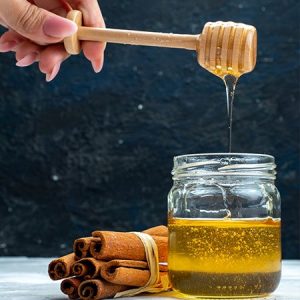
- Honey, and
- Lemon juice
3. For the natural manicure scrub
- Olive oil
- Vitamin E oil
- Sugar,
- Lemon juice
- Dettol
Steps for a Perfect Manicure at Home
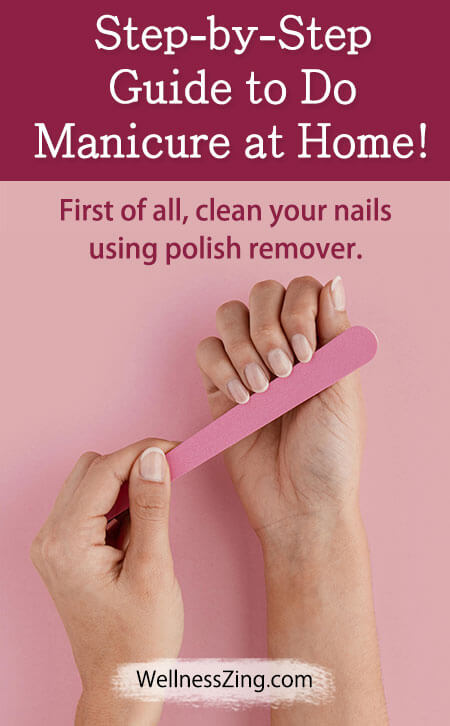
1. Clean the nails using polish remover
Clean your nails with a good-quality nail polish remover solution. These solutions contain acetone that helps in removing all paint and glitter from your nails. These nutrients make your nails strong as well as moisturize cuticles. Soak a piece of cotton in this solution and run it over each nail to eliminate paint, dirt, and oils from it.
2. File and Buff
Now the next step is to shape your nails. Gently file your nails by moving the nail filer in one direction. You can choose to get the tips shaped in a round, square, or any other shape. Using the nail buffer, buff the sides and tops of the nails. It will help in giving a smooth surface to your nails. Buffing is essential as it prevents the natural oils from building up in the nails. Buffing makes your nails bright and youthful. It is a good way to eliminate edges.
3. Push back the cuticles
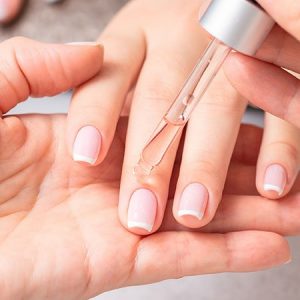
Cuticles are essential as they work to safeguard nails from bacteria. It keeps them soft. This stick is also useful to clean the region that lies beneath the tips of your nails. Use a cuticle stick to push them behind gently. Apply some cuticle oil to moisturize it.
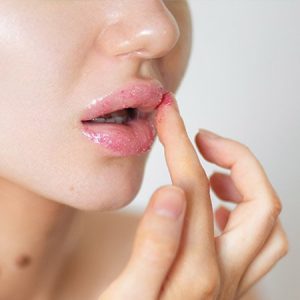
4. Exfoliation
Manicure is to beautify your complete hand, not just the nails. Exfoliate your wrists, hands, and forearms using a scrub that removes dead cells from the skin as well as restores moisture in it. Clear all the dirt and grime deposited under the nail with the help of a cuticle stick. Wash your hands and dry them before you start with further steps.
5. Moisturize cuticles and hands
After exfoliation, your skin becomes clean but can also dry out soon. So, you need to use a good hand cream to moisturize your hands and hydrate your cuticles. You can effectively absorb all the moisturizer into your skin by giving your hands a brief massage.
6. Base coat application
You are now ready to apply the base coat after thoroughly cleaning and shaping your nails and moisturizing your hands and cuticles. This step hydrates and protects your nails. It acts as a layer on the nails that prevents them from chipping. Apply the base coat and wait for two minutes before you apply the nail paint.
7. Apply the first coat of nail paint
Once the above step is done, it is time for what you have been waiting for from the start. Make your nails colorful by applying nail paint of your choice. Do not overload the brush with a lot of color. Keep the layer thin. Do not apply many strokes. Use as much paint as is needed to fully cover the nail in a single coat.
8. Apply the second coat of nail paint
After waiting for two minutes, you are ready for the second coat. If you are applying pastel shades, then you may need a third coat to get complete and seamless coverage. Always apply a thin coat. It will look nice.
9. Finish off with the final topcoat.
This is the important step that you should not skip. A topcoat makes your nails glossy and safeguards them from chipping. It will enhance the duration of your paint job.
10. Clean up rough edges.
Take a cotton ball, soak it in nail paint remover, and carefully run it around the nails to get the best finish. Wait for five minutes to allow the nails to dry completely.
Note: Always moisturize your hands when you remove nail paint using a remover. Your nails will again get hydrated. Also, do not let the nail pain stay on for over fifteen days, as it can result in discoloration of your nails. It is also required that your nails breathe in fresh air. So, between two applications of nail paint, do not apply nail paint for a week. This will keep them healthy.
Conclusion
Nails are one of the important aspects of a woman’s personality. Clean nails are inviting, and a manicure makes them more appealing. When it comes to manicures, there is no dearth of choices available to you. Choose the type that appeals to you the most. With the above step-by-step instructions, you can easily get a salon-like appearance.
If you liked this post, then do share it with your friends on social media. Also, you can write to us with any of your queries, suggestions, and comments. We will be happy to address them soon.
