Things to consider before bleaching your hair
- Going from dark shades to platinum can surely be challenging, and is not an overnight task as it seems to be as well as costly too.
- It is important to keep the scalp protected while bleaching the hair as I can burn your scalp skin. So, better avoid washing the hair before bleaching as the hair oils can protect the scalp from such burns.
- The hair reacts differently every time you decide to color, as well as the temperature of the body also plays an essential role in obtaining desired results. So, avoid sticking to a particular time while bleaching.
- Make sure you don’t have any appointments or menses on the day you are thinking to bleach the hair. Choose a day when you have plenty of time for monitoring and caring for your hair.
- Bleach is surely quite strong on the scalp skin. For this, avoid using hot water after bleaching and go for cold water wash to avoid even minor reactions.
- If you are having thin hair, bleaching would make it thicker as the color swells the hair strands and they become thick.
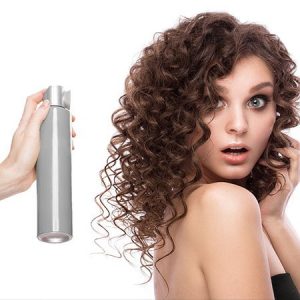
- This result might not be in your favor, but bleaching the hair might change the pattern of your curls to a great extent. Even straight hair can become wavy.
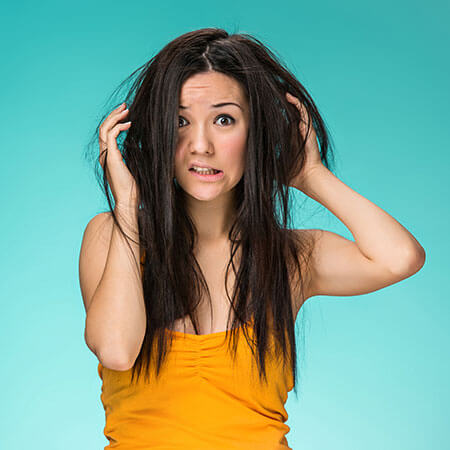
- After bleaching, you might not need to wash the hair very frequently. Bleaching might dry up the scalp which reduces the oil on the hair and scalp. Managing such hair becomes easy.
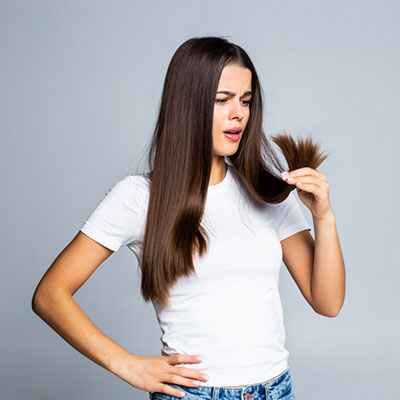
- After bleaching, you might have to spend a lot of time and money in caring about your hair to protect it from damage and provide the hair with some strength.
- Bleaching is not the only way to go lighter or brighter. Apart from blonde, you can also achieve a brighter red color or any other lighter one too.
Bleaching Hair – An Introduction
There are many women who continuously look for a change in their looks, and in such a situation, styling the hair into something new holds utmost priority. Styling the hair for a different look not only includes different hair cuts but coloring them too for giving them a new look. And for this, various experiments are carried out with the hair colors. And one thing that is much in trend these days for giving the hair a different look is bleaching the hair.
From popular celebs to the fashion lovers out there, bleaching the hair is rocking the stylish world with the flawless platinum blonde look. No matter whether you are looking for some blondeness, rainbow-colored hair, or some lighter impact, using bleach for hair surely gives your desired results.
The only drawback of bleaching the hair is the heavy expense it comes with while you visit the salons. Again, the process is quite a time consuming too which is at times not possible for many. So, what is the solution to such lovely blondes? The answer is bleaching hair at home.
Are you also thinking about bleaching your hair at home but worried about how to do it? Keep reading further for safe bleaching.
How to bleach hair at home?
Before starting with the process of bleaching the hair at home, there is a checklist one shouldn’t ignore for correct bleaching. Here is the checklist you need to go through.
- Make sure you haven’t gone for any kind of chemical treatment for the last six months. If such treatment is done, it needs to be checked if the hair has grown or trimmed. Having any chemical remnants on the scalp or hair would make changes in the final result after bleaching.
- For around 2 weeks before bleaching, make sure you have gone through various treatments and conditioning masks for improving the condition of the hair. Bleaching is very strict and stripping. So, prepare your hair before bleaching.
- For the hair that hasn’t gone for any kind of coloring treatment, or that is light, bleaching brings desired results in just one session. For the dark hair, you might have to go for more than one session.
- For the virgin hair, it is essential to start bleaching with the hair ends first and then to the roots.
- Don’t wash the hair that is freshly washed as this would eliminate the protective layer of natural hair oils from the scalp.
Bleaching is a process that needs too much patience particularly if you are having dark hair. For such hair texture, it is advisable to go for light bleaching along with deep conditioning treatments in the mid.
So, here is the step to step guide for how to bleach hair at home with household products with ease.
1. Keep a watch on the hair conditions
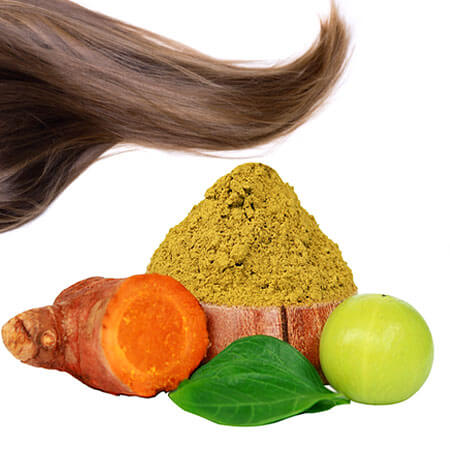
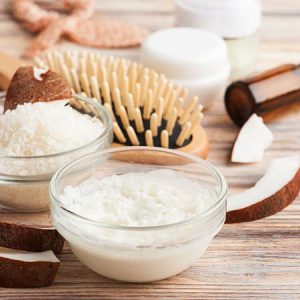
The first thing while bleaching hair at home is to prepare the hair for the treatment. Bleaching can be much damaging to the hair. And hence, to reduce the damage, it is essential to maintain the health of the hair before bleaching. Use natural moisturizing packs or ingredients along with hair masks to nourish and moisturize the hair.
Go for ingredients like olive oil, coconut oil, almond oil, honey, etc. and make healthy masks for your hair to improve the condition, shine, smoothness, softness, and overall health of the hair.
2. Be ready with the bleaching kit
When thinking of how to bleach hair at home with household products, there are certain tools or bleaching kit you need to invest in. The bleaching kit includes the developer, bleach powder, hair dye brush, mild or DIY shampoo, toner, a glass mixing bowl, tin foil, hand gloves, and hair clips. While visiting the market for the products, make sure you go for a bleaching powder that is branded and also reduces the chances of any side effects. If you are having thick hair, you might need multiple sessions for getting accurate bleaching results. In such a case, go for a powder pack that can be used many times.
Coming to the developer, getting a 10, 20, or 30 volume developer is highly recommended for every hair texture. These developers are mild to the scalp and hair. Make sure you have a good hairbrush and hand gloves as one shouldn’t use the bleaching items without them. Toner is only required if you are going for a blonde or platinum look. For other colorful results, avoid the toners. So, make sure you have the bleaching kit with you before starting with bleaching.
3. Mixing and Preparing
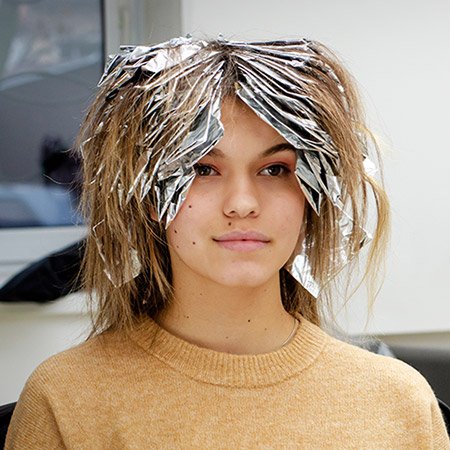
Before starting with the mixing of the bleaching products, get your hair prepared for it by sectioning the hair. Divide the hair into around 10 to 12 sections using the tin foil and set them properly. Again, the sections may vary according to the texture of the hair. Now take the mixing bowl, preferably glass bowl, wear the hand gloves, and mix the bleaching ingredients using the dye brush.
Add the required amount of bleaching powder along with the developer to the bowl and mix well. Make sure there are no lumps in the mixture. Keep a watch on the quantity of both the powder and developer as it depends on the hair texture. It is recommended to mix a small quantity priory and mix more if required while bleaching.
4. Go for a test strip
Whether you are bleaching hair at home for the first time or have done it before, it is always worthwhile to go for a strip test before bleaching. Take an efficient hair section from the bottom side and bleach it using a brush. Start from the roots to the end of the hair strand. Fold the hair strip using the foil. Check the foil every ten minutes to learn how much time your hair is taking to get the desired shade.
When the color is obtained, remove the test strip and rinse that particular section properly. Testing would not only help in getting the accurate time the hair is taking to get colored but also helps in determining if you are suffering from any reaction while bleaching the hair.
5. Bleach application
Has your test strip give you desired results? If yes, it is the right time to bleach the remaining hair quickly. This is because the hair would soak the bleach in the estimated time according to the test.
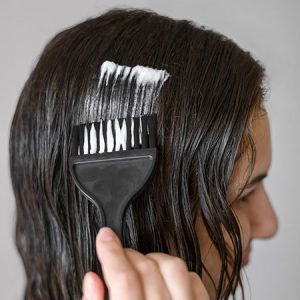
So, start the bleach application with the lower ends of the strand on the backside. Using two mirrors would surely make it convenient for you. Start bleaching the hair from the bottom ends as you move towards the scalp. Section the hair with a comb and your fingertips covered with hand gloves. Make sure you avoid going for thick sections and work on small sections. While applying bleach, make sure you cover all the hair properly.
With the help of the dye brush, cover the roots with bleach and make your move towards the end. While applying the bleach, make sure it doesn’t touch the skin as it really burns. After covering the section with bleach, make sure you use a foil to cover the bleached section.
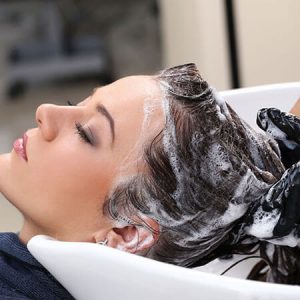
6. Time to Rinse
When the entire head or hair sections are well covered, wait for the bleach work on the hair. Keep checking the foil strips every ten minutes even though you have marked the testing time taken. When the hair has obtained the desired texture or color, it is the right time to unfold all the foils and rinse the hair well.
While rinsing the hair, go for cold water as the bleach is already strong to use hot or even warm water. You can either go with individual rinsing of every foil or work on all the foils at a time. If going with individual strip, rinse all the strips one by one properly and remove the bleach properly from them.
7. Shampoo and toner
When the hair is newly bleached, it is usually tinted yellow in color and for this, you need to shampoo the hair, particularly using purple shampoo. Apply the required amount of shampoo to the hair, damp all the hair properly in it, leave it for around 10 to 15 minutes, and rinse it again. If the hair is not light, you might have to bleach again.
But if the hair is light as you wanted, it is the time to use a toner. For using the toner, mix around one part of the toner and one part of the developer. Apply the toner to the hair. Make sure the hair is well saturated. Leave it for another 15 to 40 minutes. Wash the hair again.
8. Lastly, look for some conditioner
When the hair is properly bleached, conditioning the hair is equally important. Go for a mild conditioner or DIY conditioner for deeply conditioning the hair. Apply the conditioner to the hair and leave it for around 3 to 5 minutes. Rinse the hair again in the shower.
Conditioning the hair after bleaching would provide the hair with the required nutrients for improving the hair condition. As heavy chemicals are used for bleaching, the hair would become irritated, and conditioning or hair masks would be the right way to settle them well in a healthy way. Avoid using heating items on it after bleaching.
No doubt, bleaching is a wonderful process for giving the hair a different shade and texture, it is still quite damaging for the hair. The hair experts hence recommend using hair masks before bleaching and after bleaching to reduce the chances of hair damage. Again, if you are willing to color your hair, doing so after bleaching would help the colors penetrate deep into the hair which helps in getting the desired color texture which would last for a longer period.
After Bleaching Care Tips
Merely bleaching doesn’t mean that you don’t need to care for your hair anymore. After bleaching hair at home, there are particular caring tips one needs to follow as below.
- After bleaching, to nourish the hair again, select the best color-treated hair kit which would protect the hair from water, heat-styling products, and tools, UV rays, etc. They help in returning the hair its lost strength. Looking for a hair mask or conditioner once in a week or even twice is advisable.
- Once you have bleached the hair, one should go for a toning shampoo to avoid those unwanted yellow or orange strips in the hair.
- Bleaching is not a one-time job. You need to visit the salon or even work on the process of how to bleach hair at home at regular intervals for touch-ups. For this, make sure you are having all the bleaching ingredients ready to go for a touch up when needed.
- Avoid going for heat styling the hair to get that tangled or straight look. Reveal the natural texture of the hair with the bleached blondes.
- If styling the hair is essential, make sure to use a heat protectant on the hair before styling the hair so that no damage is done to the bleached hair.
Related Posts


This wonderful and very well written article reminded me
of when I had big problems with teeth, cavities and pain, yellow and ugly teeth, then I found a
simple way to rebuild my teeth and gums and get rid of tooth
decay.
Keep doing a great job!